
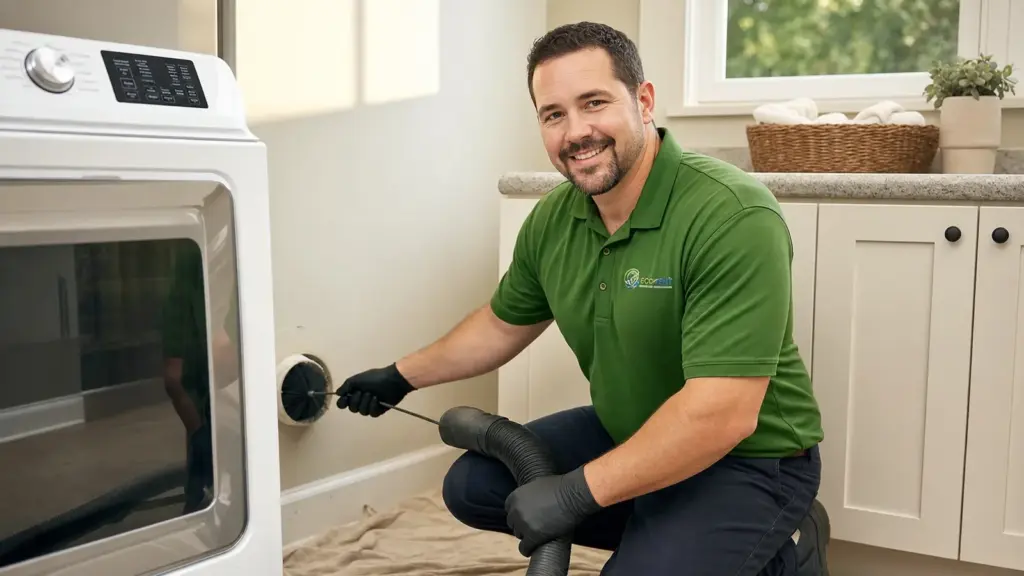
What Happens During a Professional Dryer Vent Cleaning in St. Petersburg: A Step-by-Step Breakdown
Most St. Petersburg homeowners book a dryer vent cleaning without knowing what the technician will actually do once they arrive. That uncertainty is worth clearing up. This article walks through every stage of the professional cleaning procedure Ecovent Dryer Duct Solutions follows, from the first knock on your door to the final airflow check, so you know exactly what you’re getting and why each step matters.
Why the St. Petersburg Climate Makes This Service Different
Gulf Humidity Changes How Lint Behaves
Lint is always the enemy of a dryer duct, but in coastal Pinellas County the problem compounds. The persistent Gulf humidity causes lint fibers to absorb moisture and compress against duct walls rather than floating loosely through the system. The result is a denser, stickier buildup that resists simple brushing and can reduce airflow capacity faster than homeowners in drier climates would expect. A thorough cleaning procedure accounts for this by using equipment powerful enough to break up compressed lint, not just sweep out loose debris.
Longer Duct Runs in Condos and Multi-Story Homes
St. Petersburg has a large stock of condos, townhomes, and mid-century block houses where the dryer sits far from an exterior wall. That means longer duct runs, more elbows, and more surface area where lint can accumulate. Before a technician chooses tools or technique, they need to understand the full path the duct travels, which is why every professional cleaning starts with an inspection, not a brush.
Stage 1: Pre-Cleaning Inspection and Assessment
Locating the Full Duct Path
The technician’s first job is to trace the dryer duct from the appliance connection point all the way to the exterior termination cap. In a straightforward single-family home this might be a short, direct run. In a condo or a home where the laundry room was added during a renovation, the duct may pass through wall cavities, crawl spaces, or ceiling chases before exiting the building. Knowing the full route determines which tools will reach every section.
Checking the Termination Cap and Exterior Vent
The exterior cap is inspected visually and, where accessible, physically. Common findings include bent or stuck flapper dampers, bird nests, crushed flex duct just inside the cap, and lint-packed screens (screens on dryer termination caps are actually not recommended by most installation standards because they trap lint, if one is present, the technician will note it). A blocked or damaged cap can negate an otherwise thorough cleaning, so this step is not skipped.
Measuring Baseline Airflow
Before any cleaning begins, a baseline airflow reading gives the technician a starting point. This is usually done with an anemometer or a simple flow hood placed at the exterior cap while the dryer runs. The number tells two things: how restricted the system currently is, and what a successful cleaning should improve it to. Skipping this step means you have no way to confirm the cleaning actually worked.
Stage 2: Equipment Setup and Duct Access
Disconnecting the Dryer
The dryer is carefully pulled away from the wall to expose the transition hose, the flexible section connecting the appliance to the in-wall duct. This hose is disconnected and inspected on its own. Foil accordion hose and plastic vinyl hose are common in older St. Petersburg homes and both are prone to kinking and tearing. If the transition hose is damaged, that finding gets documented so you can make an informed decision about replacement before the next cleaning cycle.
Choosing the Right Cleaning Equipment
Professional dryer duct cleaning uses a combination of rotary brush systems and high-powered vacuum extraction. The rotary brush, a flexible rod with a spinning brush head, agitates and dislodges compacted lint from duct walls. The vacuum, typically a commercial-grade unit with a HEPA-rated filter, captures the dislodged material so it doesn’t re-enter your living space. For longer or more complex duct runs, forward-pressure air tools may also be used to push debris toward the extraction point.
Ecovent Dryer Duct Solutions sizes the brush diameter to match the actual duct. A brush that’s too small misses the walls; one that’s too large can damage the duct lining. This is one reason a professional cleaning differs from a DIY kit purchased at a hardware store, the equipment is matched to the system.
Protecting the Work Area
A drop cloth goes down around the dryer and the exterior vent area. Lint is surprisingly messy when it’s dislodged in volume, and a professional crew leaves the laundry room cleaner than they found it. If the exterior cap is on a wall that requires a ladder, that setup happens now too.
Stage 3: The Actual Cleaning, What’s Happening Inside the Duct
Rotary Brush Pass From the Interior
The technician feeds the flexible rod system into the duct from the dryer connection point, working section by section toward the exterior. The rotating brush head scrubs the interior duct walls in a spiral pattern, breaking up the compressed lint layers that Gulf humidity has helped cement in place. On a duct with significant buildup, you may hear the brush working against resistance, that’s normal and expected.
For this step to be effective, the vacuum must be running simultaneously, either at the exterior cap or at the interior connection point depending on the duct layout. Running the brush without extraction just relocates the lint rather than removing it.
Reverse Pass and Secondary Extraction
After the initial brush pass, a reverse extraction run pulls any remaining debris back toward the technician’s vacuum. Some duct configurations benefit from a second brush pass, particularly if the first pass revealed a heavy buildup or if the duct has multiple elbows where lint pockets can hide. The technician makes that call based on what the equipment is pulling out, not on a preset number of passes.
Cleaning the Transition Hose and Connection Points
The flexible transition hose that was disconnected earlier gets cleaned separately. This short section accumulates lint quickly because it’s often the lowest point of the system and because it flexes every time the dryer vibrates. It’s also inspected for kinks, holes, and length, an overly long or coiled transition hose is a common restriction point that a cleaning alone won’t fix.
The Dryer Vent Cleaning Procedure: A Quick Reference
| Stage | What Happens | Why It Matters |
|---|---|---|
| 1. Inspection | Duct path traced, exterior cap checked, baseline airflow measured | Identifies restrictions and sets a performance benchmark |
| 2. Equipment Setup | Dryer disconnected, brush diameter selected, work area protected | Ensures right tools for the specific duct layout |
| 3. Rotary Brush Pass | Flexible brush scrubs duct walls from interior to exterior | Breaks up compressed, humidity-hardened lint |
| 4. Vacuum Extraction | Commercial HEPA vacuum captures dislodged debris simultaneously | Removes lint from the system rather than relocating it |
| 5. Transition Hose Cleaning | Flexible connection hose cleaned and inspected separately | This section accumulates lint fastest and is often overlooked |
| 6. Exterior Cap Service | Flapper damper cleaned and tested, cap secured | A stuck damper restricts airflow even after a clean duct |
| 7. Post-Cleaning Airflow Test | Airflow measured again with dryer running | Confirms the cleaning achieved a measurable improvement |
| 8. Findings Report | Technician walks you through what was found and any concerns | Gives you the information to make maintenance decisions |
Stage 4: Exterior Cap Service and Reassembly
Cleaning and Testing the Flapper Damper
The exterior termination cap gets its own attention. Lint and debris accumulate around the flapper damper, the spring-loaded or gravity-operated flap that closes when the dryer isn’t running. A damper that sticks open lets outside air (and pests) into the duct. One that sticks closed restricts airflow even in a clean system. The technician clears any lint from around the damper mechanism and confirms it opens and closes freely.
Reconnecting and Repositioning the Dryer
The transition hose is reconnected to both the dryer exhaust port and the in-wall duct collar. The connection points are checked for a secure fit, a loose connection means humid, lint-laden air exhausts into the wall cavity instead of outdoors. Once connections are confirmed, the dryer is carefully repositioned. The technician checks that the transition hose isn’t kinked or compressed behind the appliance, which is one of the most common post-service problems when this step is rushed.
Stage 5: Post-Cleaning Verification
The Airflow Comparison Test
This is the step that separates a verifiable cleaning from one you simply have to take on faith. With the dryer running, airflow at the exterior cap is measured again and compared to the baseline reading taken before the cleaning began. A successful service produces a meaningful, measurable improvement. If the numbers don’t move, the technician investigates further rather than calling the job complete.
Homeowners often notice the difference even without instruments, the exterior cap should have a strong, steady airflow that you can feel with your hand held near the opening. Clothes that previously took multiple cycles to dry will often finish in a single normal cycle after a thorough cleaning.
Visual Documentation of Findings
A professional technician documents what was found during the service. This typically includes photos of the exterior cap condition, the transition hose, and any concerns observed during the inspection. If the duct material is damaged, if the duct path has a section that can’t be adequately cleaned due to an inaccessible crush or kink, or if the termination cap needs replacement, those findings are communicated clearly so you can decide how to proceed. Learn more about Ecovent’s dryer vent cleaning service and what’s included in a standard visit.
Maintenance Guidance Specific to Your System
Before leaving, the technician walks you through the findings and offers maintenance guidance specific to your duct configuration. A short, straight duct in a single-family St. Petersburg home will need cleaning on a different schedule than a long, multi-elbow run in a high-rise condo. Coastal humidity, how frequently the household does laundry, and the types of fabrics dried all factor into how quickly lint accumulates. You leave the appointment knowing when to book the next service, not guessing.
What a Professional Cleaning Won’t Fix (And What to Do Instead)
A cleaning restores airflow through the existing duct. It doesn’t repair crushed, kinked, or disconnected sections of duct inside a wall or ceiling cavity. If the inspection reveals that a section of duct has collapsed or separated, cleaning the accessible portions will improve things but won’t fully resolve the restriction. In those cases, duct repair or replacement becomes the next conversation.
Similarly, if the duct material itself is the problem, for example, a plastic vinyl transition hose that’s prohibited by current installation standards, or an undersized duct that was never correctly sized for the appliance, cleaning extends the time before the next problem but doesn’t eliminate the underlying issue. Ecovent Dryer Duct Solutions offers dryer duct replacement for situations where the duct itself needs to be addressed rather than just cleaned.
How Long the Process Takes and What to Prepare
Realistic Time Expectations
A standard residential dryer vent cleaning in St. Petersburg typically takes between 45 minutes and 90 minutes from setup to final airflow check. Longer duct runs, heavily compacted lint, or difficult exterior access points extend that range. A condo with a duct that runs through multiple floors can take longer still. Be cautious of any service that promises to complete the job in 15 or 20 minutes, a thorough cleaning, with proper inspection and post-service verification, simply takes more time than that.
What to Have Ready Before the Technician Arrives
A few simple preparations make the service go smoothly:
- Clear the area around the dryer so the technician can pull it away from the wall without moving furniture.
- Know where your exterior vent cap is located, on which wall and at what height. If it’s on a second-story wall or roof, let the office know when booking so the right equipment comes with the crew.
- Have the dryer’s last cleaning date available if you know it. This helps the technician calibrate expectations for how much buildup to expect.
- If you’ve noticed specific symptoms, longer drying times, a hot laundry room, a burning smell, mention them when you book. Those details help the technician focus the inspection.
After the Service: What Changes
Most households notice the change in dryer performance within the first load or two after a cleaning. Drying times shorten, the appliance runs cooler, and the laundry room itself tends to feel less humid during a cycle. If drying times don’t improve noticeably within a few loads, contact the service provider, that’s a signal worth investigating rather than ignoring.
Frequently Asked Questions
Do I need to be home during the dryer vent cleaning?
Yes, for most residential appointments. The technician needs access to the laundry area and may need to ask questions about the duct path or previous service history. They’ll also want to walk you through findings before leaving.
How often should dryer vent cleaning happen in St. Petersburg?
For most households, once a year is a reasonable baseline. Coastal humidity accelerates lint compaction, so some high-usage households benefit from more frequent service. Your technician can recommend a schedule based on your specific duct length and laundry habits after the initial cleaning.
Can I clean the dryer vent myself with a kit from the hardware store?
DIY kits can remove loose debris from the first few feet of duct, but they rarely reach the full length of the system and lack the vacuum extraction needed to prevent lint from being redistributed. For a short, straight duct run, a DIY kit is better than nothing. For anything longer or more complex, professional equipment makes a meaningful difference.
What if the technician finds damage during the inspection?
Findings are documented and explained to you before any additional work is discussed. A damaged section of duct doesn’t require an immediate decision, you’ll understand what was found, where it is, and what the options are. Nothing additional is done without your approval.
Is there a difference between dryer vent cleaning and dryer duct cleaning?
The terms are used interchangeably in the industry. Both refer to cleaning the exhaust duct that runs from the back of the dryer to the exterior of the home. Some technicians use “vent” to refer specifically to the exterior termination cap and “duct” for the full interior run, but in practice a professional cleaning addresses the entire system from connection point to cap.
What are the signs I need a cleaning sooner than my scheduled interval?
Watch for clothes taking longer than one cycle to dry, a laundry room that feels unusually warm or humid during a cycle, a burning or musty smell when the dryer runs, or an exterior cap flapper that no longer opens and closes freely during operation. Any of these warrants a call before your next scheduled service.
Conclusion
Understanding the full dryer vent cleaning procedure takes the guesswork out of booking a service and helps you recognize whether the work was done thoroughly. From baseline airflow measurement through the final post-cleaning verification, every stage serves a specific purpose, and in St. Petersburg’s humid coastal environment, cutting corners on any of them leaves lint in the system. If your dryer has been running longer cycles, or it’s simply been more than a year since the last cleaning, schedule your dryer vent cleaning with Ecovent Dryer Duct Solutions today and get a clear picture of exactly what’s happening inside your duct.